I needed a simple way to measure and log the temperature of the heating pipes in our house. The DS18B20 is a well-known and commonly used temperature sensor, and I already have Home Assistant running.
So in this post, I want to guide you through the build of a temperature data logger that can easily be used in Home Assistant.
Required Hardware and Components
DS18B20 sensors
to keep it simple and without the requirement for soldering, I suggest you buy ready-made sensors with wires and metal pieces. Buy the waterproof version for outdoor installations!
Thermal Pad
to improve the thermal contact between the sensor and the pipe (or any material you want to measure)
Rubber Insulating Tape (e.g. K-Flex ST Band)
to keep the losses low and ensure correct measurements
ESP8266 board
e.g. Wemos D1 mini (for the ESPHome software)
Waterproof Case (optional)
you only need this if you want to measure temperatures outside, e.g. at the pipes of an outdoor heatpump unit.
Miscellaneous stuff
e.g. electrical terminals, scissors/pliers, crimp tool etc.
Step 1: Wire it all up
Connect the temperature sensors all in parallel to the same GPIOs. I use pin D4 for the data line. Also, the sensors need 5V and GND. How you do the actual wiring is just your preference. You can either solder the wires together, or use a PCB or some clamps.
Step 2: Set up ESPHome device and find out IDs
This is the configuration I used for my temperature logger, consisting of two DS18B20 sensors.
Note: We will first install the config without the “sensors” part. Then we copy the 1-wire IDs of the temperature sensors from the log output. Only then we add the “sensors” part with the correct 1-wire IDs
esphome:
  name: temp-logger-1
  friendly_name: temp-logger-1

esp8266:
  board: d1_mini

# Enable logging
logger:

# Enable Home Assistant API
api:
  encryption:
    key: "xxxxxxxxxx"

ota:
  - platform: esphome
    password: "xxxxxxxxxx"

wifi:
  ssid: !secret wifi_ssid
  password: !secret wifi_password

  # Enable fallback hotspot (captive portal) in case wifi connection fails
  ap:
    ssid: "Temp-Logger-1 Fallback Hotspot"
    password: "xxxxxxxxxx"

captive_portal:

one_wire:
  - platform: gpio
    pin:
      number: D4
      mode:
        input: true
        pullup: true
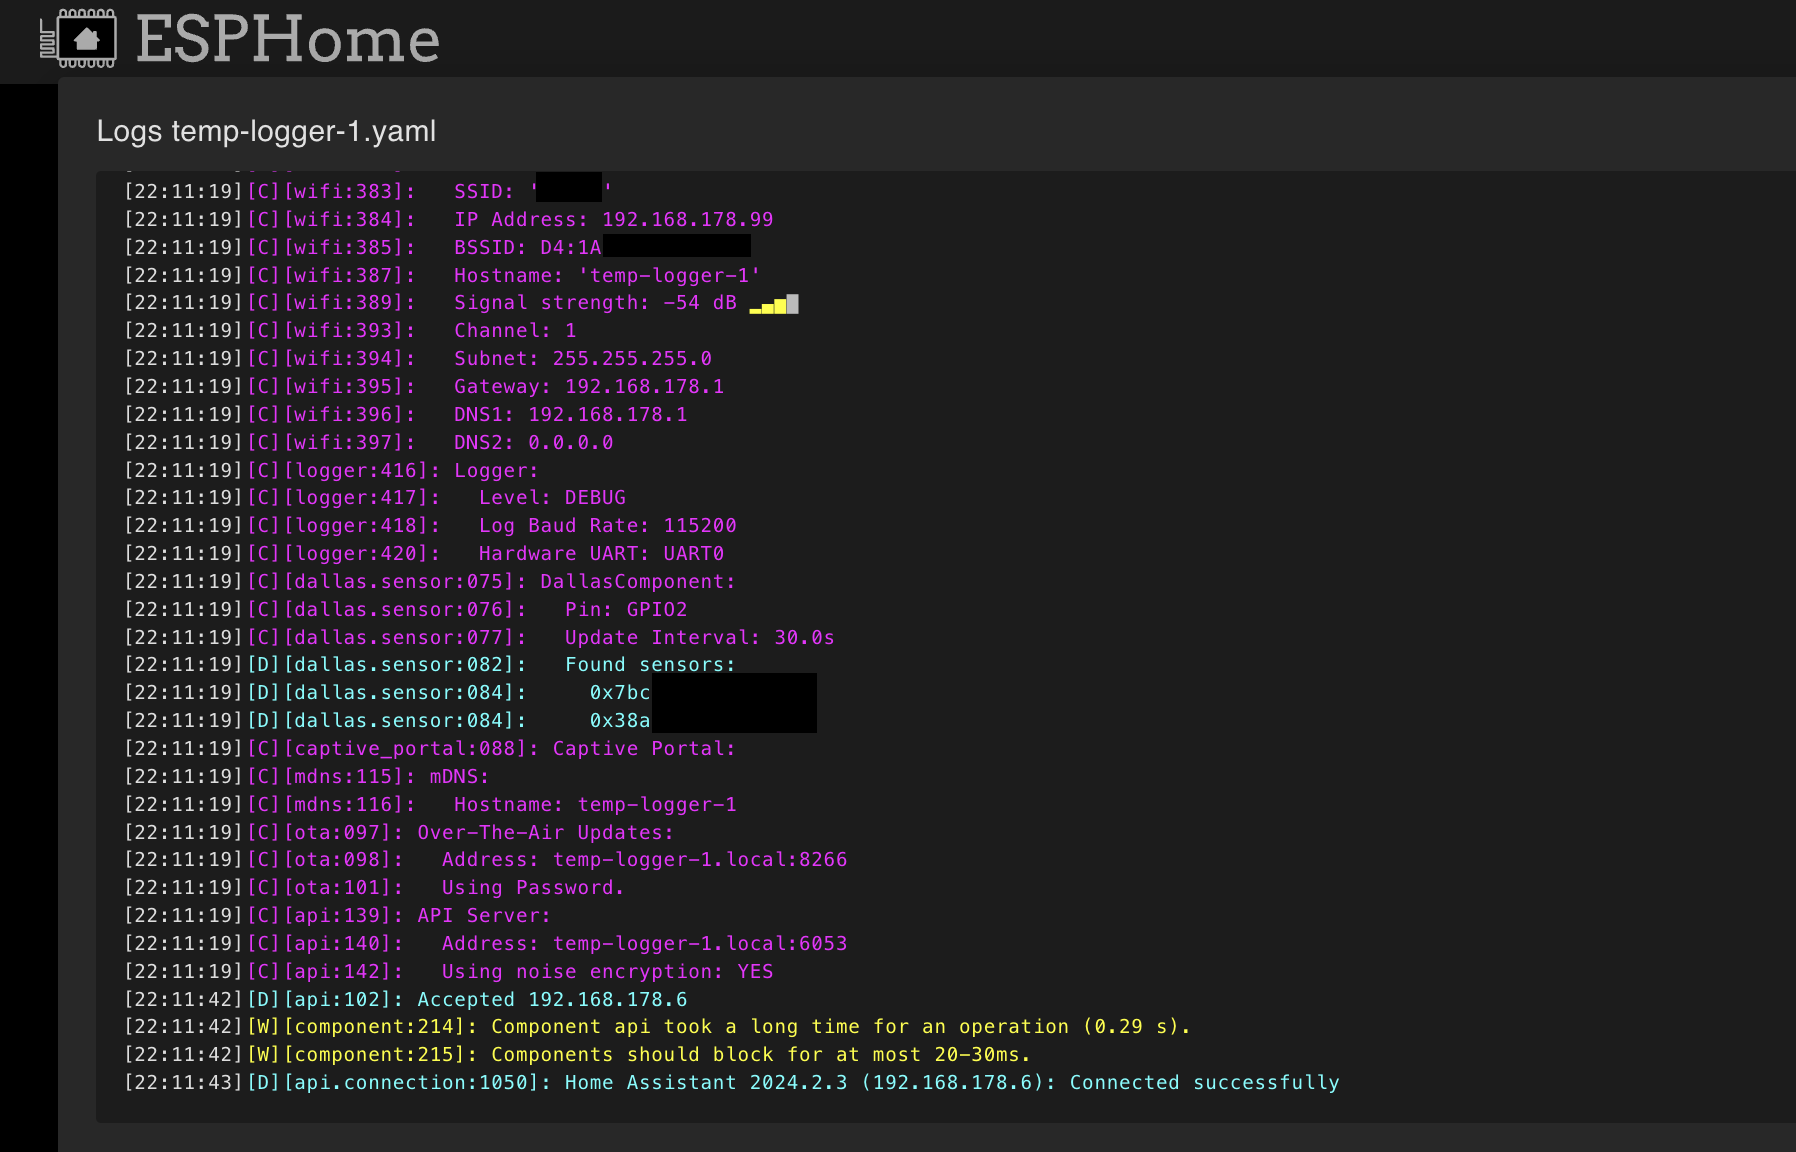
The output should look like this in ESPHome:

Step 3: Add sensors
Now that we have the IDs, we can add the sensors:
# ... config from above

# Actual sensor instances
sensor:
  - platform: dallas_temp
    address: 0x000000000000xxxx
    name: "Sensor 1"
    unit_of_measurement: "°C"
    icon: "mdi:thermometer"
    device_class: "temperature"
    state_class: "measurement"
    accuracy_decimals: 2
    update_interval: 30s
  - platform: dallas_temp
    address: 0x000000000000xxxx
    name: "Sensor 2"
    unit_of_measurement: "°C"
    icon: "mdi:thermometer"
    device_class: "temperature"
    state_class: "measurement"
    accuracy_decimals: 2
    update_interval: 30s
If you flash this and check the logs, you should see this:

Step 4: Add device in Home Assistant
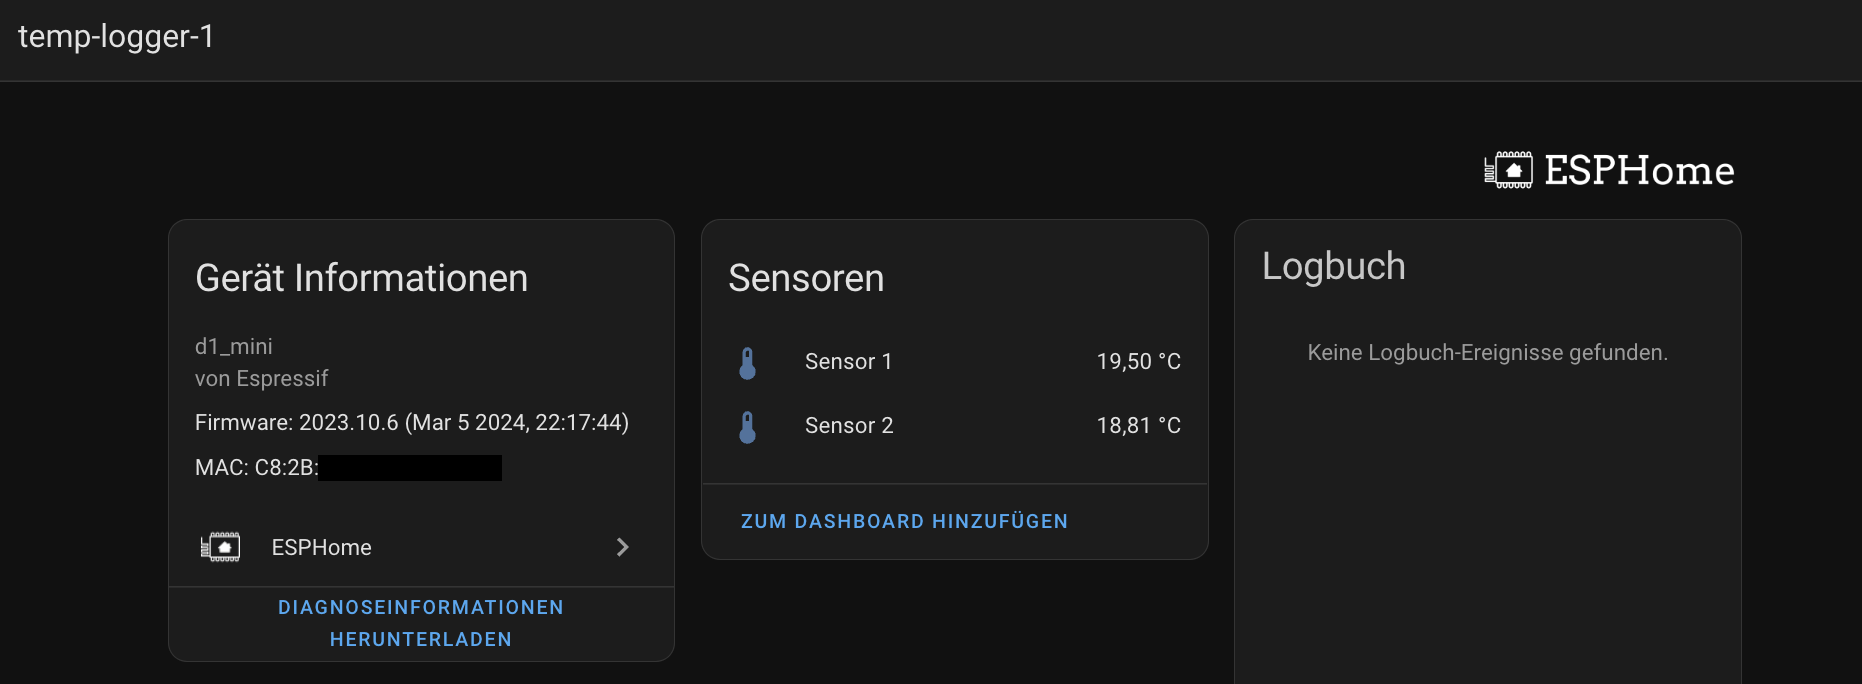
Next, you can add your ESPHome device in Home Assistant as usual (it should appear in the notifications). Finally, it should look like this. Congratulations, you made your own temperature sensor!


With latest ESPHome update dallas is no more, so you need to change this to one_wire, something like this:
one_wire:
– platform: gpio
pin: D1
sensor:
– platform: dallas_temp
address: 0x2d00000aaf857528
name: „Pool Temperature“
id: pool_temp