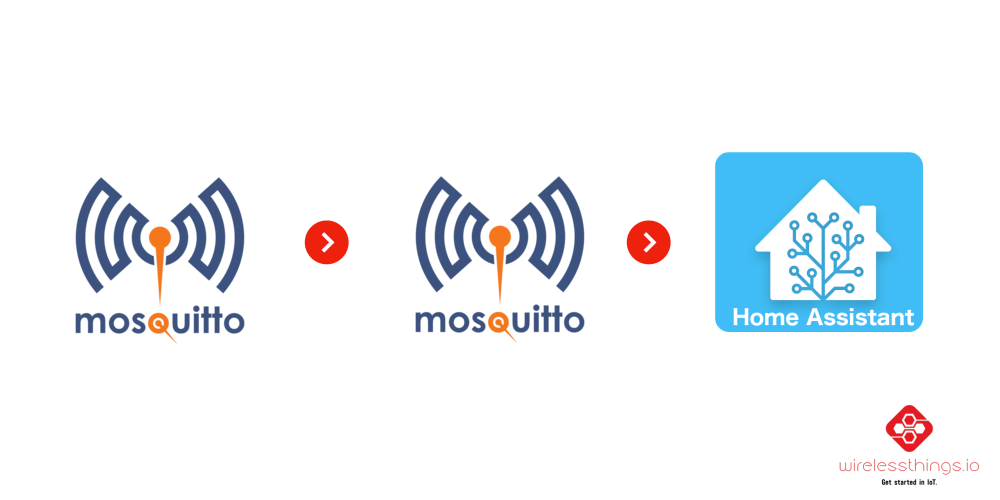
Home Assistant only supports subscribing to one MQTT broker. This is a problem, if you get sensor data from multiple different brokers and want to display them in your dashboards. So in this post, I will show you a solution on how to configure one of the brokers as an MQTT bridge. By doing this, we can connect two MQTT brokers together and receive the data from both brokers on just one of them.
This requires that you have control over at least one of the brokers and can modify its configuration file. Usually, you can just install the “Mosquitto broker” add-on. However, the first part of this post will show how to set up a mosquitto broker manually on the command line.
Step 1: Setup a mosquitto broker configuration
Note: This step is only required, if you cannot (or don’t want to) install the broker as a Home Assistant add-on.
# Create a new directory for any data regarding the broker
mkdir mosquitto-broker

# Create the config folder
cd mosquitto-broker
mkdir config

# Create the config file (note that the paths denote
# the locations in the container)
echo 'listener 1883
persistence true
persistence_location /mosquitto/data/
# If you want more detailed logs, uncomment this line
# log_type all
log_dest file /mosquitto/log/mosquitto.log
allow_anonymous false
password_file /mosquitto/config/password.txt' > ./config/mosquitto.conf

# Create the password file in plain text (two users)
echo 'admin:supersecureadminpass
homeassistant:supersecurepass' > config/password.txt

# Convert the file to hashed passwords
docker run -it --rm \
  -v ./config/password.txt:/password.txt \
  eclipse-mosquitto:latest \
  mosquitto_passwd -U password.txt

# Prepare the log file
mkdir log && touch log/mosquitto.log

# Set correct permissions
chmod o+w log/mosquitto.log && \
chmod 766 -R config && \
chmod 0700 config/password.txt
Step 2: Run the broker
Execute the following docker command to run the broker:
docker run -d -p 1883:1883 \
  -v /path/to/mosquitto-broker:/mosquitto \
  eclipse-mosquitto:latest
Then, you can check that the connection is working using mosquitto_sub (if it is installed on your system. If not, just install it using your package manager):
mosquitto_sub -h localhost \
  -u homeassistant -P supersecurepass \
  -t #
Step 3: Configure the bridge
This is the key part of this post. We assume the following situation:
- A broker on domain example.com is listening on port 1883
- The topic we are interested in is my/devices/sensor-1/#
- We want to receive it in our end application on the topic data/sensor-1/
Then we need to extend the configuration of our broker as follows:
connection example-com-bridge
address example.com
cleansession true
remote_username <username>
remote_password <password>
# Syntax: topic pattern [[[ out | in | both ] qos-level] local-prefix remote-prefix]topic sensor-1/# in 0 data/ my/devices/
This configuration tells mosquitto to connect as a bridge to the broker at example.com (“address” line). It subscribes to the remote topic my/sensor/temperature (first topic in the “topic” line) and republishes the received messages to the local topic bridge/sensor/temperature, using QoS of 0.
The syntax of the “topic” parameter is this (details can be found here):
topic pattern [[[ out | in | both ] qos-level] local-prefix remote-prefix]
Regarding the topics, it works like this:
- the “pattern” is used for both the subscription and publishing topic
- if a “remote-prefix” is given, this will be prepended to “pattern” before subscribing to the full topic on the remote broker.
- if a “local-prefix” is given, this will be prepended to “pattern” before re-publishing the data
If you now start the broker, the logs should look similar to this:
root@machine:~# docker run -it -p 1883:1883 -v /root/mosquitto-broker:/mosquitto eclipse-mosquitto:latest
xxxxxxxxxx: mosquitto version 2.0.18 starting
xxxxxxxxxx: Config loaded from /mosquitto/config/mosquitto.conf.
xxxxxxxxxx: Opening ipv4 listen socket on port 1883.
xxxxxxxxxx: Opening ipv6 listen socket on port 1883.
xxxxxxxxxx: Connecting bridge example-com-bridge (example.com:1883)
xxxxxxxxxx: Bridge a7b837a7393c.example-com-bridge sending CONNECT
xxxxxxxxxx: Received CONNACK on connection local.a7b837a7393c.example-com-bridge.
xxxxxxxxxx: Bridge local.a7b837a7393c.example-com-bridge sending SUBSCRIBE (Mid: 2, Topic: my/devices/sensor-1/#, QoS: 0, Options: 0x00)
xxxxxxxxxx: Received PUBACK from local.a7b837a7393c.example-com-bridge (Mid: 1, RC:0)
xxxxxxxxxx: Received SUBACK from local.a7b837a7393c.example-com-bridge
Now, to test the connection, we use mosquitto_sub again, but with the local broker and the substituted topic. As soon as the sensor sends data, we should now receive it from our local broker.
mosquitto_sub -h localhost \
  -u homeassistant -P supersecurepass \
  -t data/sensor-1/#
Step 4: Configure Home Assistant
In Home Assistant, you can now go to the settings of the MQTT integration and configure your local broker (if not done already). That’s it, you can now subscribe to the bridged topics!

