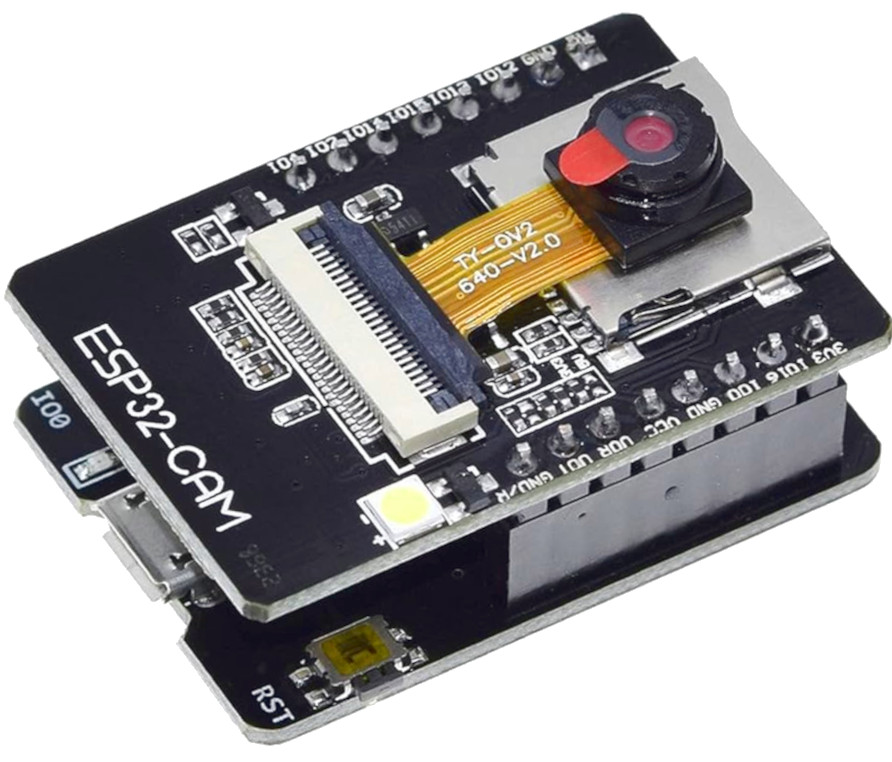
Having a watchful eye on your surroundings that you can view from your smartphone, for as cheap as 16$. Sounds great? Whether you’re looking to monitor your home, office, or any cherished space, you can do so with the ESP32-CAM module. We all know the ESP32, a very versatile microcontroller that can be used in many different projects. And the ESP32-CAM adds a camera and a microSD card module to it.
In this post I will explore the ESP32-CAM’s capabilities, list the necessary components for the project, and provide step-by-step instructions to assist you in integrating it as a camera into Home Assistant using ESPHome as the firmware.
Section 1: Gathering Tools and Components
Before diving into the hands-on part of the project, let’s make sure you have all the necessary tools and components at your disposal. Here is a comprehensive checklist, ensuring that you’re well-prepared for a smooth project.
- ESP32-CAM module: When you buy, make sure you choose an offer with the ESP32-CAM module together with a usb-to-serial board that the cam board can be plugged into.
Cost: 16$ - MicroUSB cable: Cost: 3$
- Power adapter: Cost: 5$
- (optional) A 3D printer: for printing an enclosure for the camera
- A running instance of Home Assistant
Section 2: Printing the Enclosure and assembling the Device
To give the device a more human-friendly look, we will 3D-print an enclosure for it. Luckily, there are already many ready-made designs available on Thingiverse. Just choose the one that you like most and print it.
Place the device in the case and close it.
Section 3: Installing the Firmware (ESPHome)
Now that your hardware is assembled, let’s shift the focus to the software side of things. For this section, I assume that you have a running Home Assistant instance. Also, I assume that you have already installed an ESPHome server or have some other possibility to use ESPHome, e.g. through ESPHome Web.
- Click “New Device” in ESPHome. Choose “ESP32” as the chip type.
- Build the initial firmware.
- Plug the ESP32-CAM module into the usb-to-serial board that comes with it. Then connect it to your computer using the microUSB cable. Press the button on the usb-to-serial board while do this, so that the ESP32 can enter the flashing mode.
- Flash it onto the ESP32 using the guide from ESPHome.
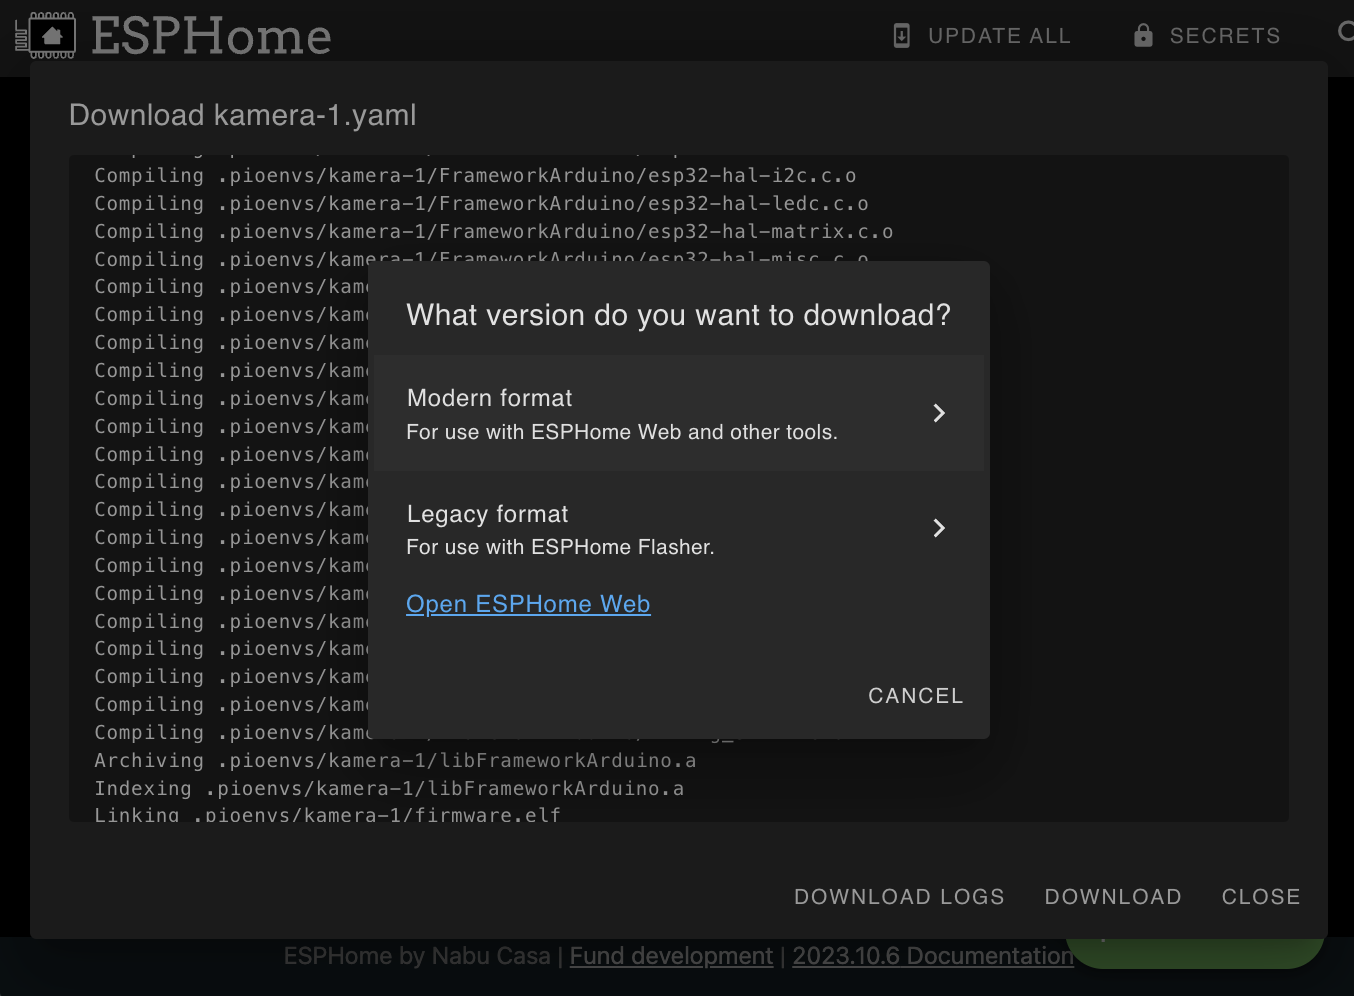
- When done with flashing, the device should show as “online” in ESPHome.
- Extend the yaml configuration for this ESPHome device as follows. Do not replace the content. Keep your WiFi setting etc, and just add this code:
esp32_camera:
  id: espcam
  name: esp-cam
  external_clock:
    pin: GPIO0
    frequency: 10MHz
  i2c_pins:
    sda: GPIO26
    scl: GPIO27
  data_pins: [GPIO5, GPIO18, GPIO19, GPIO21, GPIO36, GPIO39, GPIO34, GPIO35]
  vsync_pin: GPIO25
  href_pin: GPIO23
  pixel_clock_pin: GPIO22
  power_down_pin: GPIO32
  resolution: 800x600
  jpeg_quality: 10  # max. 63
  max_framerate: 10.0fps
  idle_framerate: 0.2fps
  vertical_flip: true
  horizontal_mirror: false
  brightness: 2 # -2 to 2
  contrast: 1 # -2 to 2
  special_effect: none
  # Exposure settings
  aec_mode: auto
  aec2: false
  ae_level: 0
  aec_value: 300
  # Gain settings
  agc_mode: auto
  agc_gain_ceiling: 2x
  agc_value: 0
  # White balance setting
  wb_mode: auto

output:
# White LED
  - platform: ledc
    channel: 2
    pin: GPIO4
    id: espCamLED
# Red status light
  - platform: gpio
    pin:
      number: GPIO33
      inverted: True
    id: gpio_33

light:
  - platform: monochromatic
    output: espCamLED
    name: esp-cam light
  - platform: binary
    output: gpio_33
    name: esp-cam led

switch:
  - platform: restart
    name: esp-cam restart

binary_sensor:
  - platform: status
    name: esp-cam status
Section 4: Integrating the Camera into Home Assistant
- In Home Assistant, go to the “Notifications” tab in the menu on the left. You should see “New devices discovered”. Click on “Check it out”.
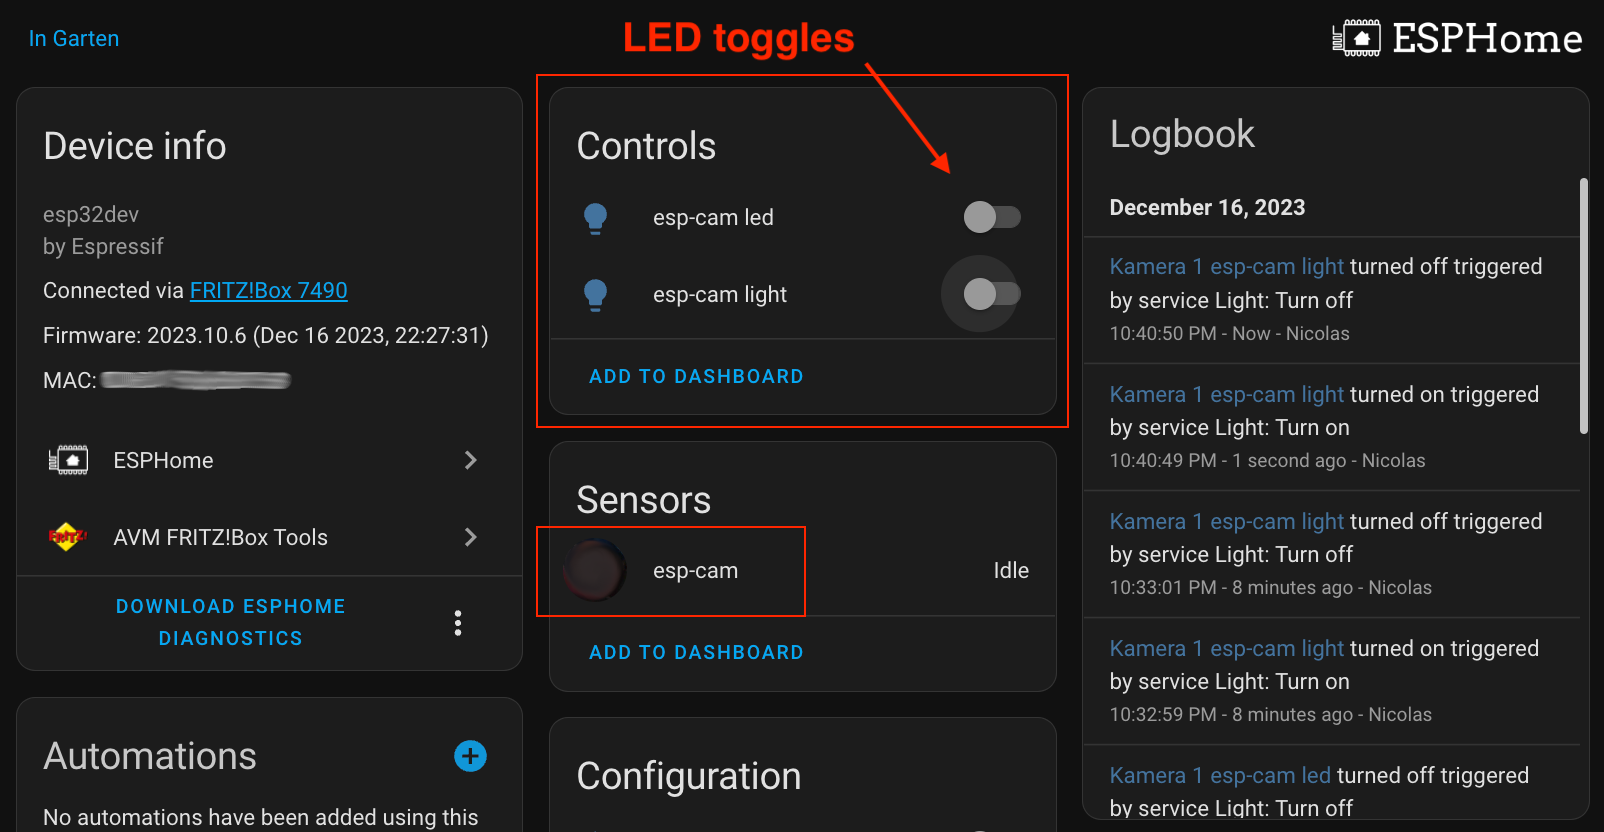
- Find the name of your device (in my case it is “Kamera 1”). Click the “Configure” button. Then, enter the API key of the device, which you can find in ESPHome. Click “Send”.
- Test the red status LED and the bright “flash light” on the board, by activating the corresponding switches in the settings of the device in Home Assistant.
- You can also click on the device name to preview the camera image.
Section 5: Testing and Troubleshooting
The moment of truth! Configure a panel on the Home Assistant Dashboard to show the image of this camera device. If it works, you are done! If it doesn’t, here are some things you can check:
- Have a look at the log output in ESPHome. Are there any errors?
- Make sure that the ribbon cable of the camera is properly connected to the board. Remove it, and insert it again.
- Make sure that the WiFi credentials in ESPHome are correct.
If you still have problems, just write a comment below the post or send me an email. I will try to help you!
Final Words
The ESP32-CAM is a cost effective choice when it comes to building your own cameras for use with Home Assistant. With an open source firmware such as ESPHome, we are not dependent on any cloud provider or third party, and we can be sure our images do not leave our network.
Congratulations. You have not only successfully built your own DIY security camera but also gained valuable insights into the world of ESP Home and Home Assistant. I encourage you to continue exploring the possibilities of the ESP32 and ESPHome to further enhance and customize your setup. Happy building!